How to Add and Sync Audio with CapCut Desktop Video Editor
A well-synced audio track can elevate a video, making it feel seamless and immersive. In contrast, mismatched audio and visuals can be extremely distracting, drawing the viewer’s attention away from the content and reducing the overall impact.

If the audio does not correspond with the video, it is very off-putting and unprofessional even if the video is of high quality.Imagine watching an interview in which the person’s voice is delayed relative to their lip movements or music that is played in sync with the images –it would feel unsettling. Besides, audio and video synchronization not only improves audibility and video quality but also keeps the viewer engaged. With CapCut video editor for pc, syncing audio and video effectively is easier with tools designed to refine alignment, ensuring that both elements move in harmony.
Step 1: Import Your Video and Audio Files
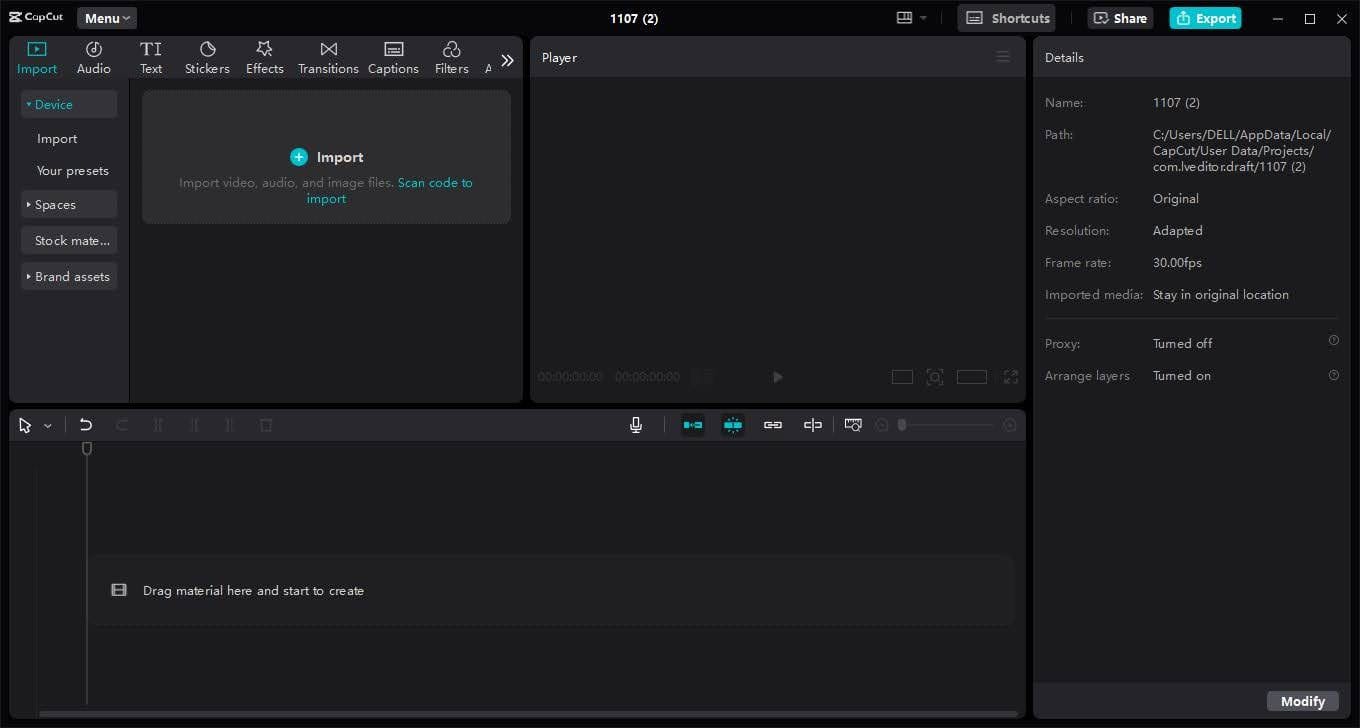
Start by opening the CapCut application on your computer and get ready to make a new project. You can import your videos and audio files by clicking the import icon at the top left of the interface or simply drag and drop the media files directly into the media bin. The CapCut supports multiple formats, so you should be able to upload audio like MP3, WAV, and AAC while using video clips.Let’s say you’re editing a travel vlog with background music and voiceover. You then import the footage shot during the trip, and your recorded commentary and select the background music. After all of these are in the media library, you can then drag them into the timeline for further editing.
Step 2: Place the Audio on the Timeline
After Importing your audio file, drag it on the timeline right under your video track. The positioning of the audio must be done in such a way that it is in harmony with the video because timing is crucial in the syncing of the audio and the video. If your audio file is background music that needs to be played continuously during the length of your video, position it on top of the initial frame of the video clip. If it is a voice-over or particular sound effects, ensure that it blends well with the specific part of the video it applies to. You can also use the text-to-voice feature, which enables you to add voiceovers to your videos without needing to record audio yourself.
Step 3: Adjust and Sync Audio to the Video
After your audio is in the timeline, the next task is to sync the audio to your video to match the timeline of events. CapCut offers additional tools including “Split” and Frame-by-Frame adjustment for adjusting the audio positioning. The “Split” feature enables you to divide the audio or video track since you can insert or delete unnecessary pieces. Another aspect that aids in small adjustments is called the “Frame-by-Frame” option helps to move the audio slightly forward or backward. You can also try background remover to remove videos that don't match your required audio.
Step 4: Match Audio and Video Length
Sometimes your audio could be longer than the video, or the video could be longer than the audio. To address this, you can trim the clip using CapCut’s tools. Go to the audio track and double-click it with your cursor to choose the size that must coincide with the length of the video. However, if the audio is shorter, you may duplicate it by copying the audio track and placing them parallel to each other.Nevertheless, when using the looping techniques, make sure that there isn’t a cut or any interruption while moving around the loop. If you’re using CapCut’s Text-to-Voice feature, you can easily convert exact wording from your video script into an audio format. It offers several voice options depending on the type of content and enables you to control the sound speed to match the visuals appropriately.
Step 5: Use Audio Fade-In and Fade-Out for Smooth Transitions
For a professional touch, consider adding fade-in and fade-out effects to your audio tracks, especially if they start or end abruptly. CapCut offers these options under the "Audio" settings. Fade-ins can help ease the viewer into a background music track, while fade-outs create a smooth ending.
Step 6: Final Playback and Adjustments
Once you've added and adjusted your audio, it’s time for a final playback. You need to play the video from start to finish to ensure everything is synchronized correctly. Pay attention to points where audio and video transitions occur, ensuring that the timing feels natural and enhances the story. Any minor mismatches can be fixed with a quick split or frame adjustment.
Conclusion
CapCut’s Desktop video editor makes it easy to achieve a clean and cohesive audio-visual experience. No matter whether you are cutting a travel vlog, producing a short film, or providing a tutorial, having the audio in sync keeps the audience attentive and makes the content feel more professional. Through precise placement, fine-tuning, and thoughtful transition, CapCut allows you to achieve the dream of audio that corresponds with your videos.

